Payment Links
You can connect your Stripe Payment Links to A-Cube to ask your customer the invoicing information needed for sending the invoice.
How it works
- Connect a Payment Links to the A-Cube platform using the app
- Optionally, configure option through the dedicated panel
- Wait for your customer to complete a payment
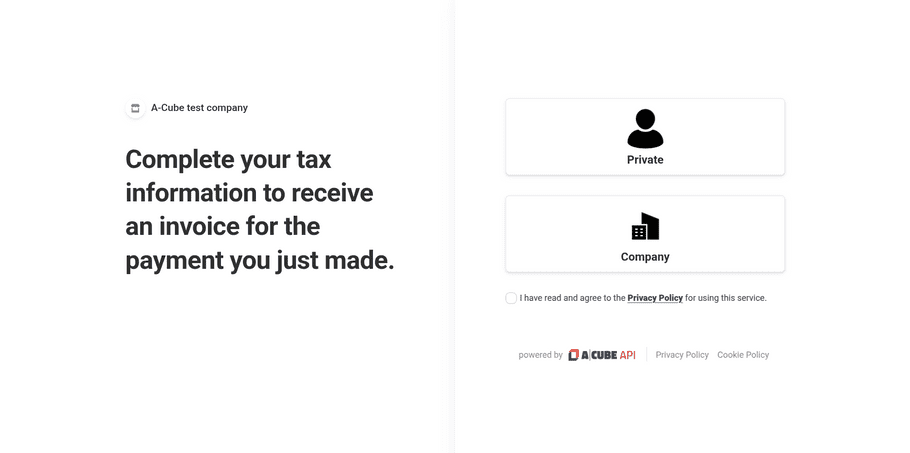
- Your customer will be redirected to a web page
- The customer provide his own invoicing information
- After data are validated and submitted, the invoice is processed and sent throw the A-Cube app on Stripe
Configuration
You can connect a Payment Link to A-Cube in two different ways:
1. Using an API key
This method will guide to create and set a restricted API key then used by A-Cube to automatically setup the Payment Link connection.
You're required to follow the steps once, and the future Payment Links will be connected with the press of a button.
Create the API Key
- Go to the API keys section on your Stripe Dashboard
- In the Restricted keys section, click on Create restricted key button
- Choose the Providing this key to another website option and proceed
- Provide a name for the key (e.g. A-Cube) and set
https://acubeapi.comas URL - Click on Create restricted key to confirm the creation of the key
- The new key should be listed in the Restricted keys section. Click on it to copy the value
Set the API Key in the app
- Go to the A-Cube Stripe app setting page and scroll down to the API Key section
- Paste the API key you copied in the previous step into the API Key field
- Click on the Save button to confirm the changes
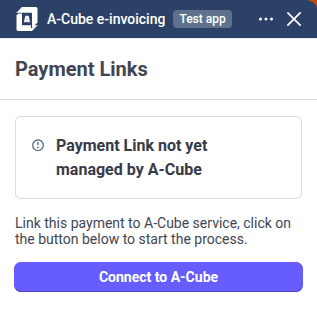
You can now open the A-Cube app in Payment Link page in the Stripe dashboard and use the button to confirm the connection.
If not prompted automatically, press the Refresh button or reload the page.
2. Manual configuration
If you don't want - or you can't - create an API Key, you can manually configure the Payment Link connection following the steps below.
Note:
Contrary to the API Key method above, this method requires you to repeat the configuration for each Payment Link you want to connect to A-Cube.
- Go to the Payment Link you want to connect to A-Cube in the Stripe Dashboard
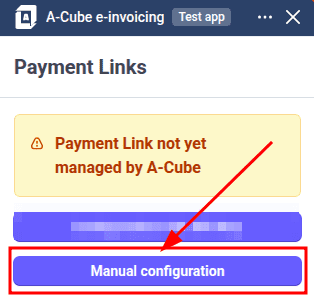
- Open the A-Cube app and select the Manual configuration option (see the image below)
- Press the Copy link button. Remember that the copied value must be used only for the Payment Link you're connecting right now.
- Access the edit page of the Payment Link and select the After payment tab
- Select the Don't show a confirmation page option. If this is already selected, you should take note of the current value, as it will be replaced.
- Paste the value copied at the step #3 in the text field and press the Save button to confirm the changes
- Return to the A-Cube app and press the button to confirm the connection
- If you noted down your previous redirect URL, you can now set it the Success URL box and save
Settings
You can customize the Payment Link connection with the following settings:
Success URL
This is the URL where your customers will be redirected after they provide their invoicing information. If you leave this field empty, the customer will be redirected to a generic page success page.
If you connected the Payment Link using the API Key method, this field will be automatically set to the value originally configured in the Payment Link.
Othewrwise, if you connected the Payment Link using the manual configuration, you should set here the URL you noted down when suggested.
Let customers decide if they want to receive the invoice
Enabling the option Send electronic receipt instead of invoice will allow your customers to choose whether they want to receive an invoice or just a receipt.
If the option is enabled, before been allowed to insert their invoicing information, the customer will be presented with the page below:
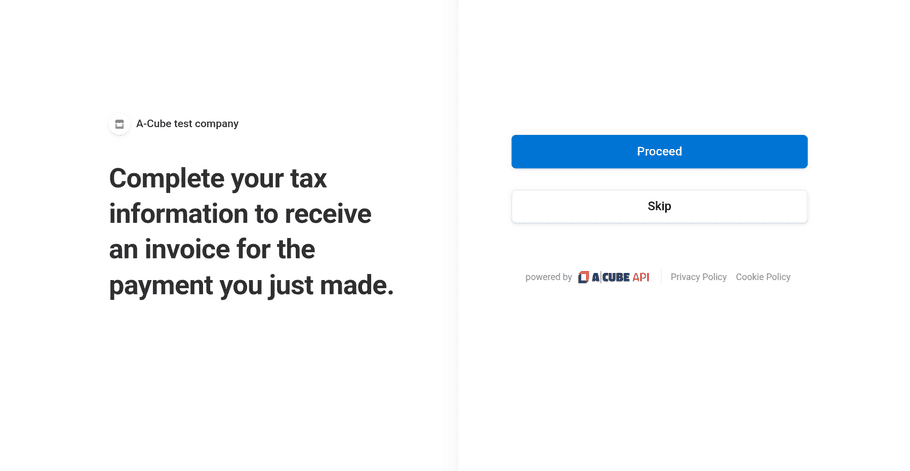
Clicking on the Skip button will immediately redirect the customer to the success page, without asking for invoicing information.
Disconnect
In case you want to disconnect a Payment Link from A-Cube, you can do so by clicking the Disconnect button in the app panel.
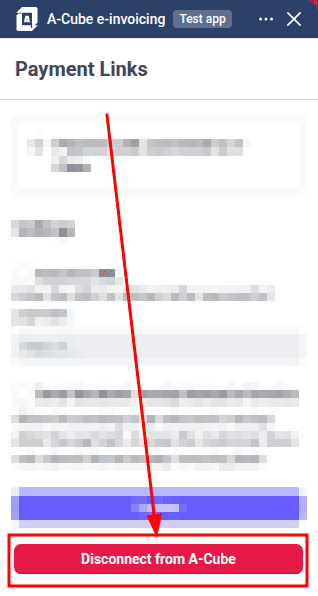
If you connected the Payment Link using the API Key method, the disconnection will be immediate and the Payment Link will be reverted to the original configuration.
Otherwise, if you connected the Payment Link using the manual configuration, you will need to perform the following steps to finalize the disconnection:
- If available, click the Copy link button to copy your current redirect URL.
- Access the edit page of the Payment Link and select the After payment tab
- If you copied the link in step #1, paste it in the text field. Otherwise, select the Show a confirmation page option.
- Press the Save button to confirm the changes
Your Payment Link is now disconnected from A-Cube and the original configuration is restored.