Creating an Authorization Token within the Test Environment on the KSeF Portal in Poland
Please note that the procedures outlined here are executed within the KSeF portal. While an authorization token is required to be incorporated into the ERP systems, these steps are provided as guidance and may become outdated if there are alterations in the processes conducted in the KSeF portal.
This page will explain the process of generating an authorization token from the KSeF portal (or KSeF demo). Utilizing the tax authority’s e-Invoicing platform (KSeF), you can electronically send and receive invoices in your system. KSeF, which stands for Krajowy System eFaktur (official translation: The National System of e-Invoices), facilitates this functionality.
To establish a connection between the ERP or any client’s integration, and KSeF, enabling you to verify the test documents submitted to KSeF, it is essential to have a token.
Note: In the test environment, KSeF permits logging in without real authorization to generate the token.
If you are using the test environment of the service and you would like to generate an authorization token, kindly follow the steps outlined below.
-
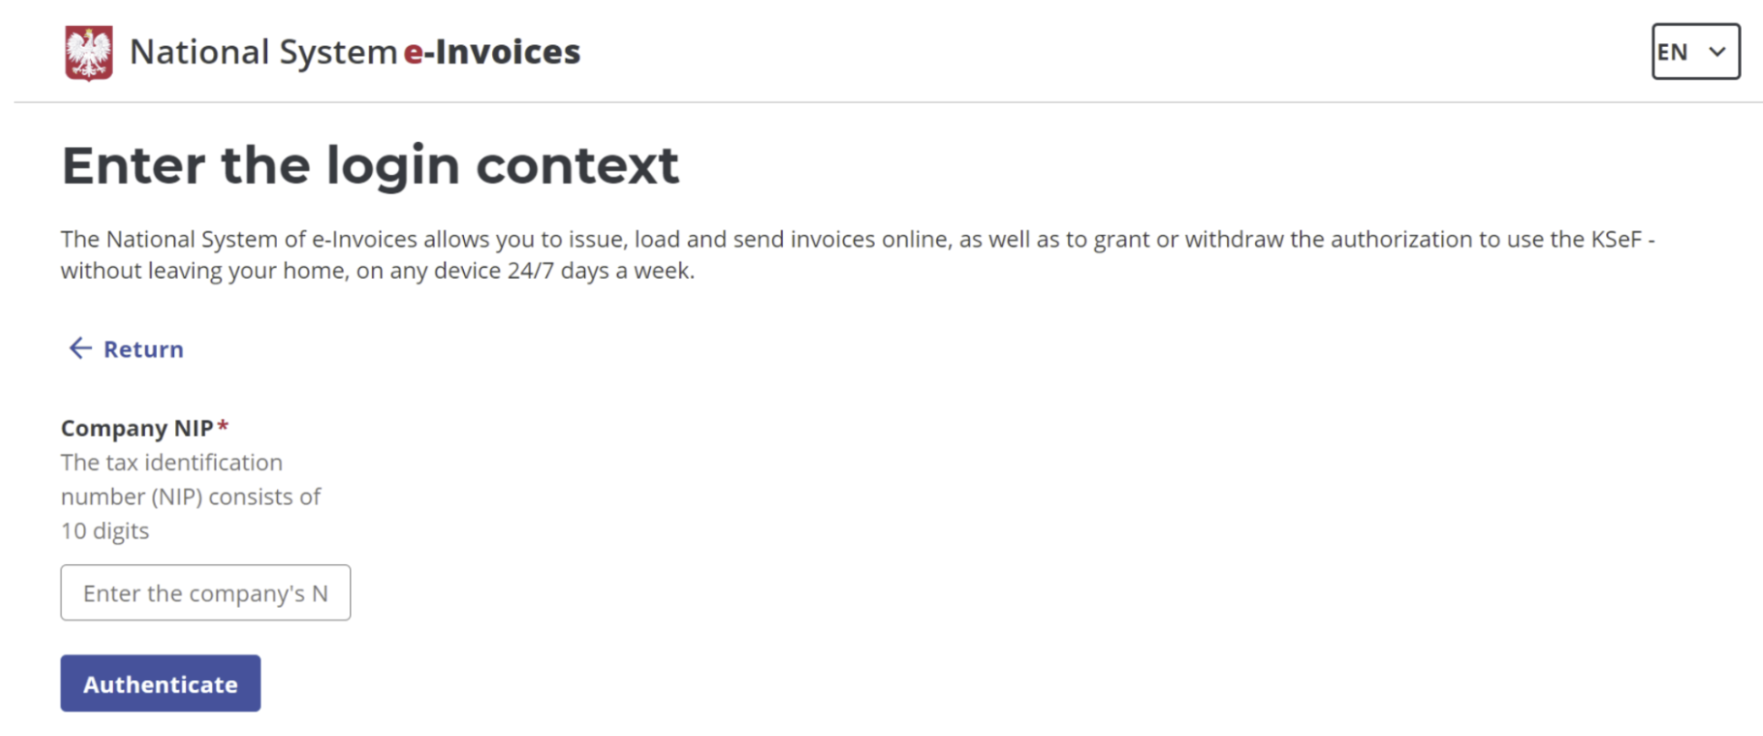
Establish a login context by entering the tax identification number (NIP) and selecting the Authenticate button on the KSeF portal (or KSeF demo) page. The NIP consists of only 10 digits, excluding the prefix PL. You can generate a fake NIP number on this page.
-
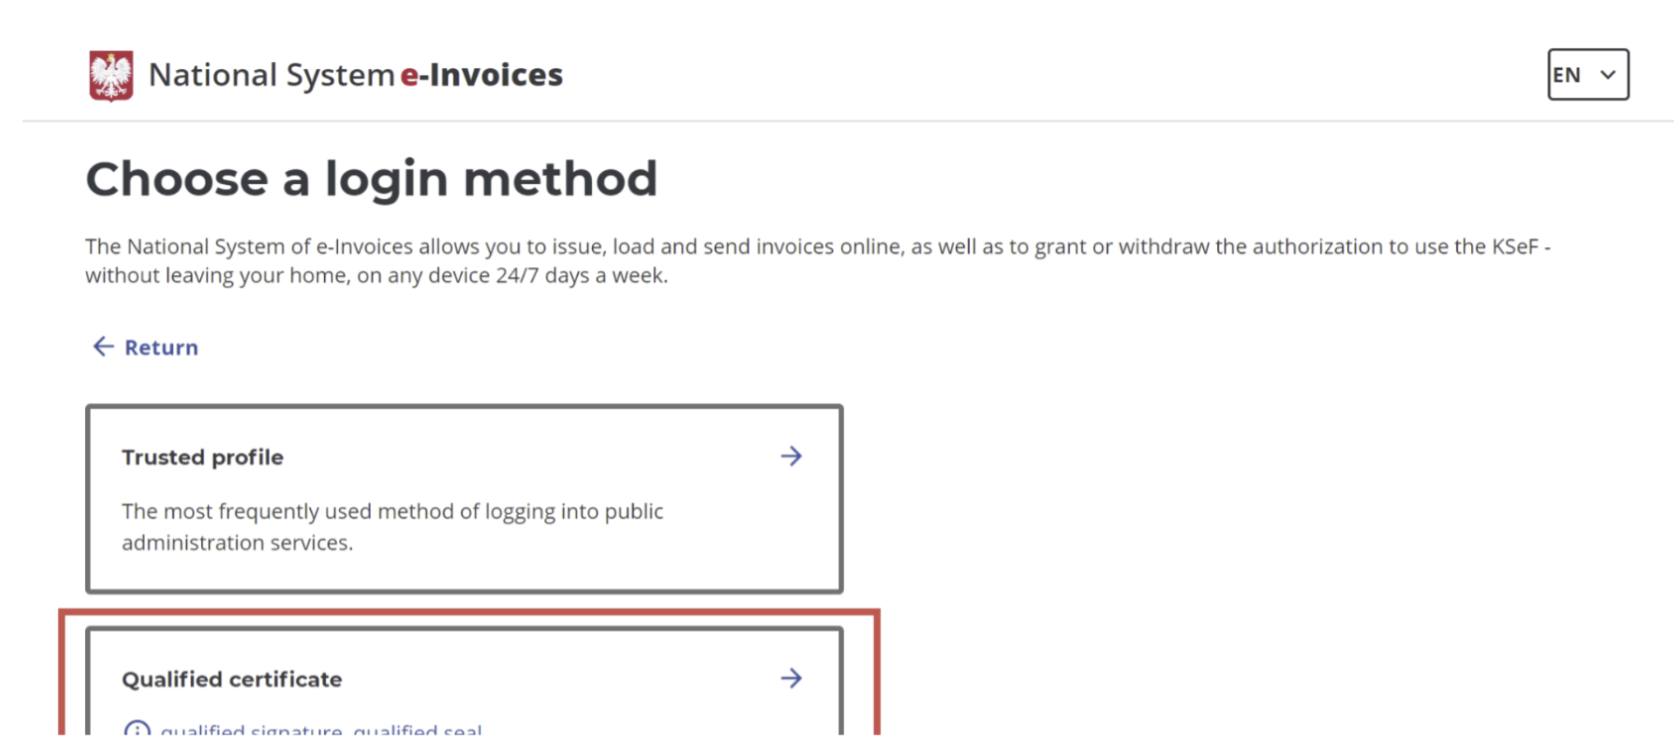
Select a login method. In the test environment, opt for the Qualified Certificate.
-
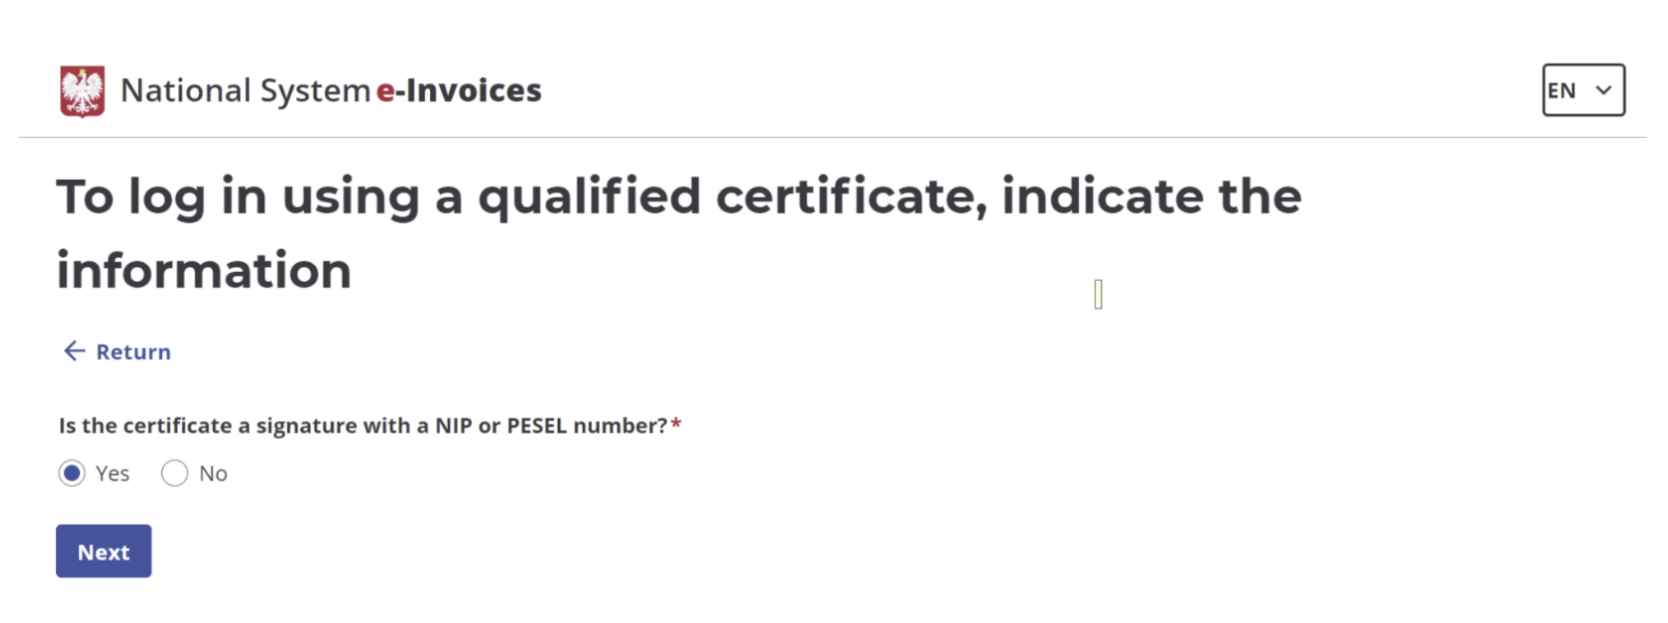
On the following screen, choose "yes" to confirm whether the certificate serves as a signature with the tax identification number or personal identification number. Then, click the Next button.
-
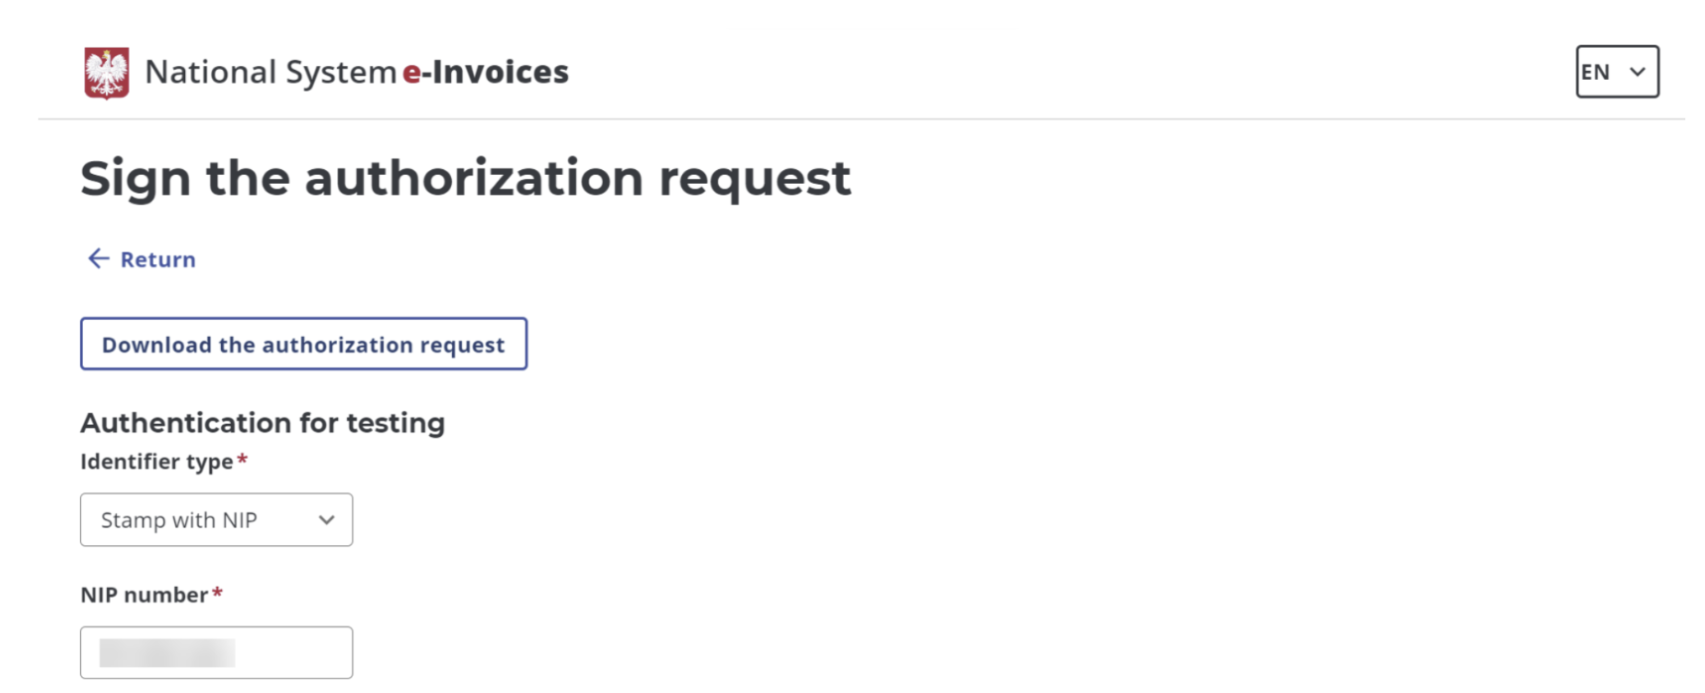
On the "Sign the authorization request" screen, choose the Identifier Type as Stamp with NIP, and input the NIP number. Click the Authenticate to the test application button to proceed.
-
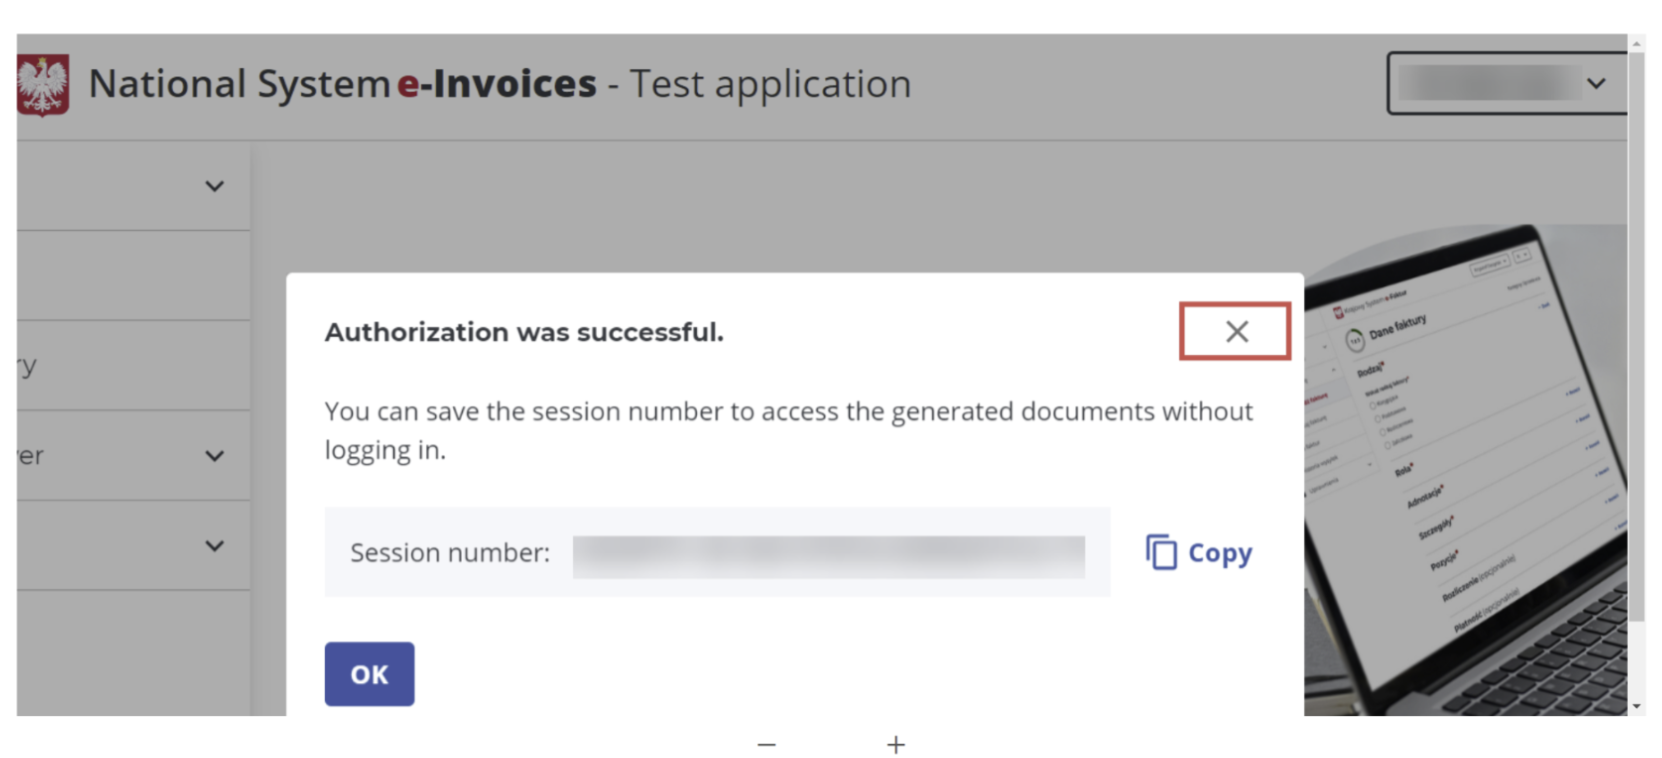
Close the Authorization was successful pop-up window.
-
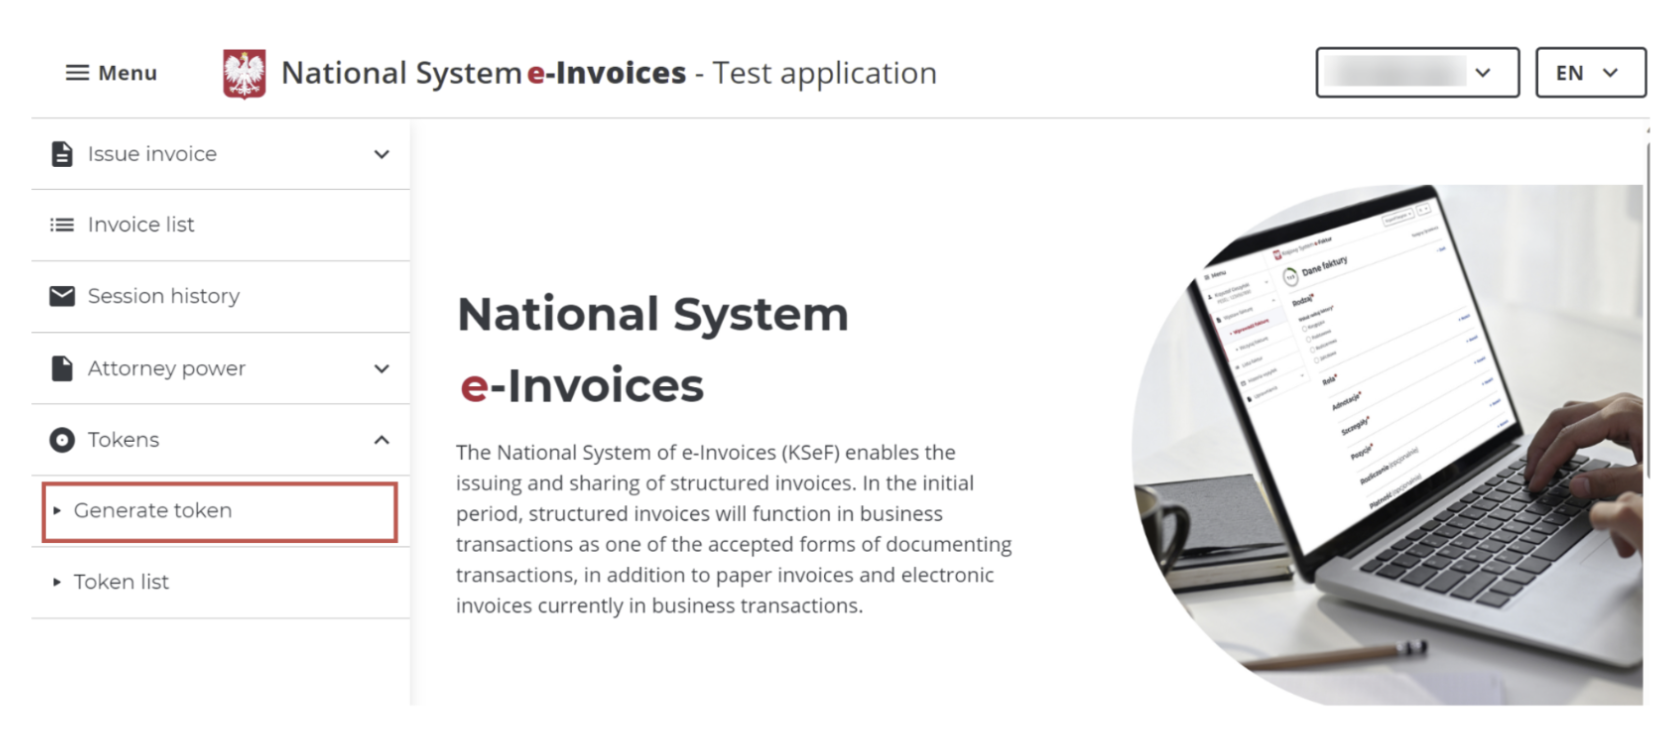
Select Generate Token from the menu on the left.
-
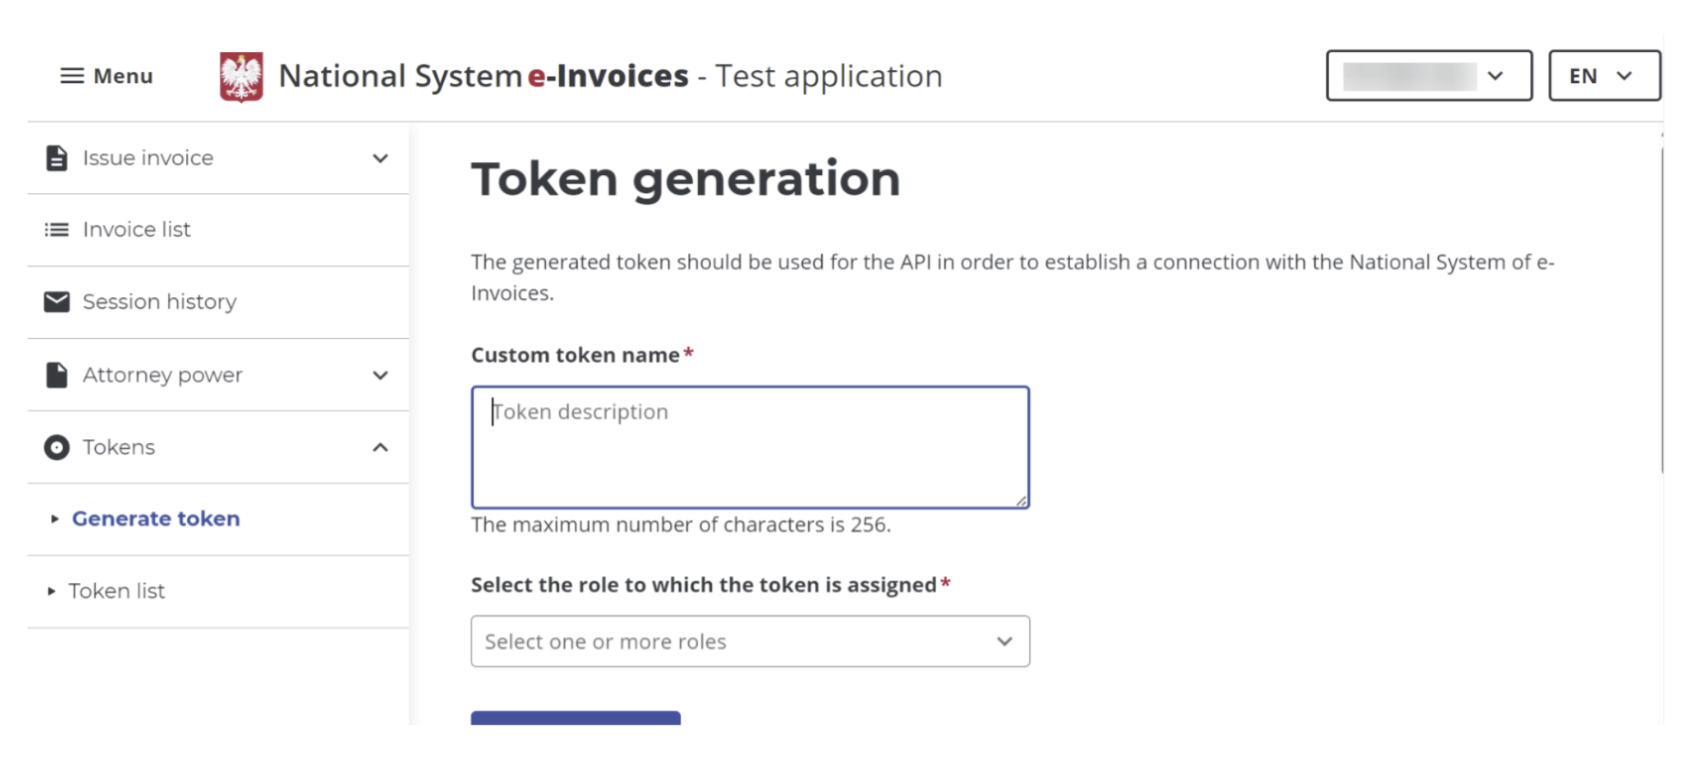
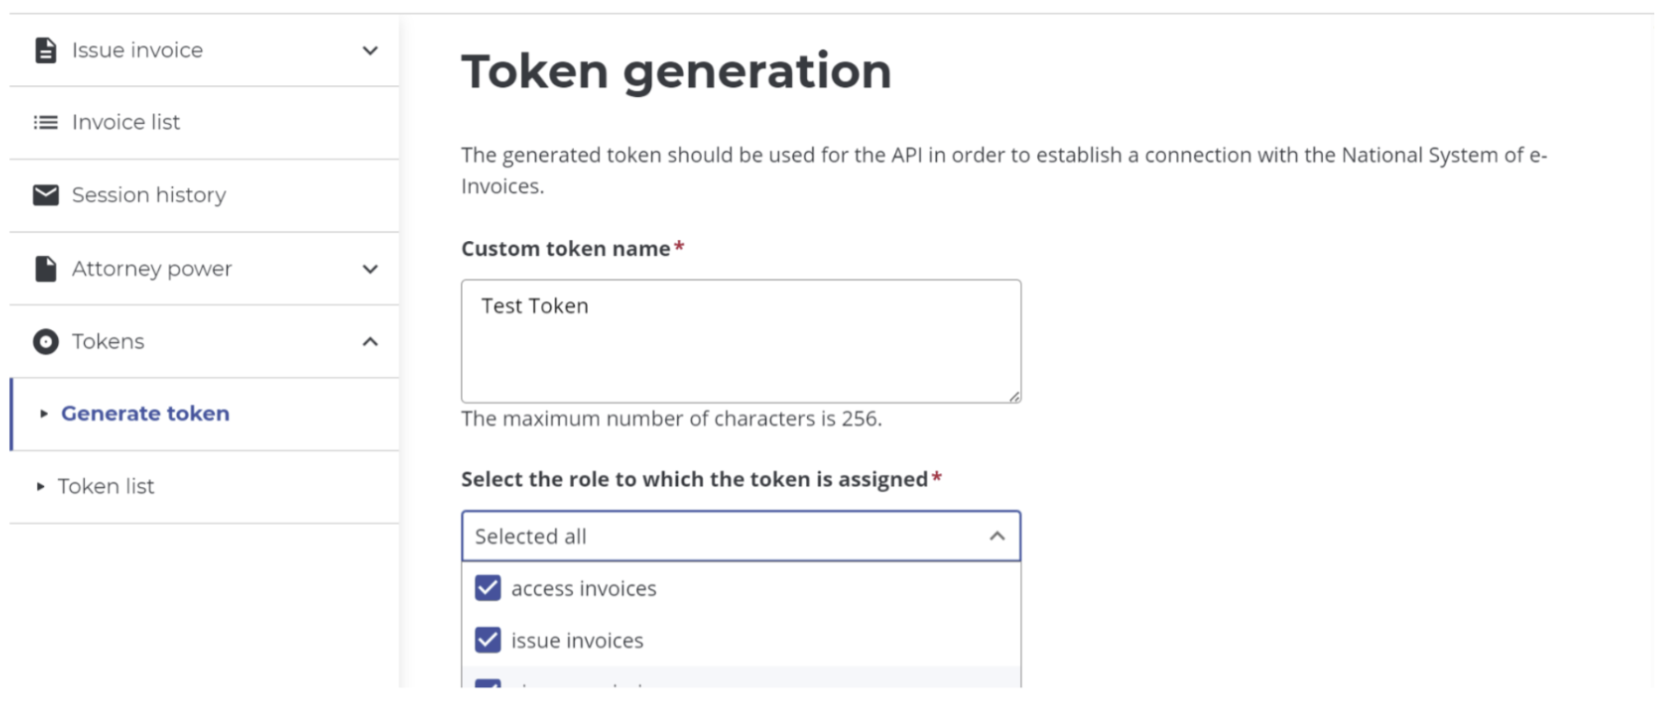
Provide a name for the token and choose the roles you wish to assign to it. Click the Generate Token button to complete the process.
-
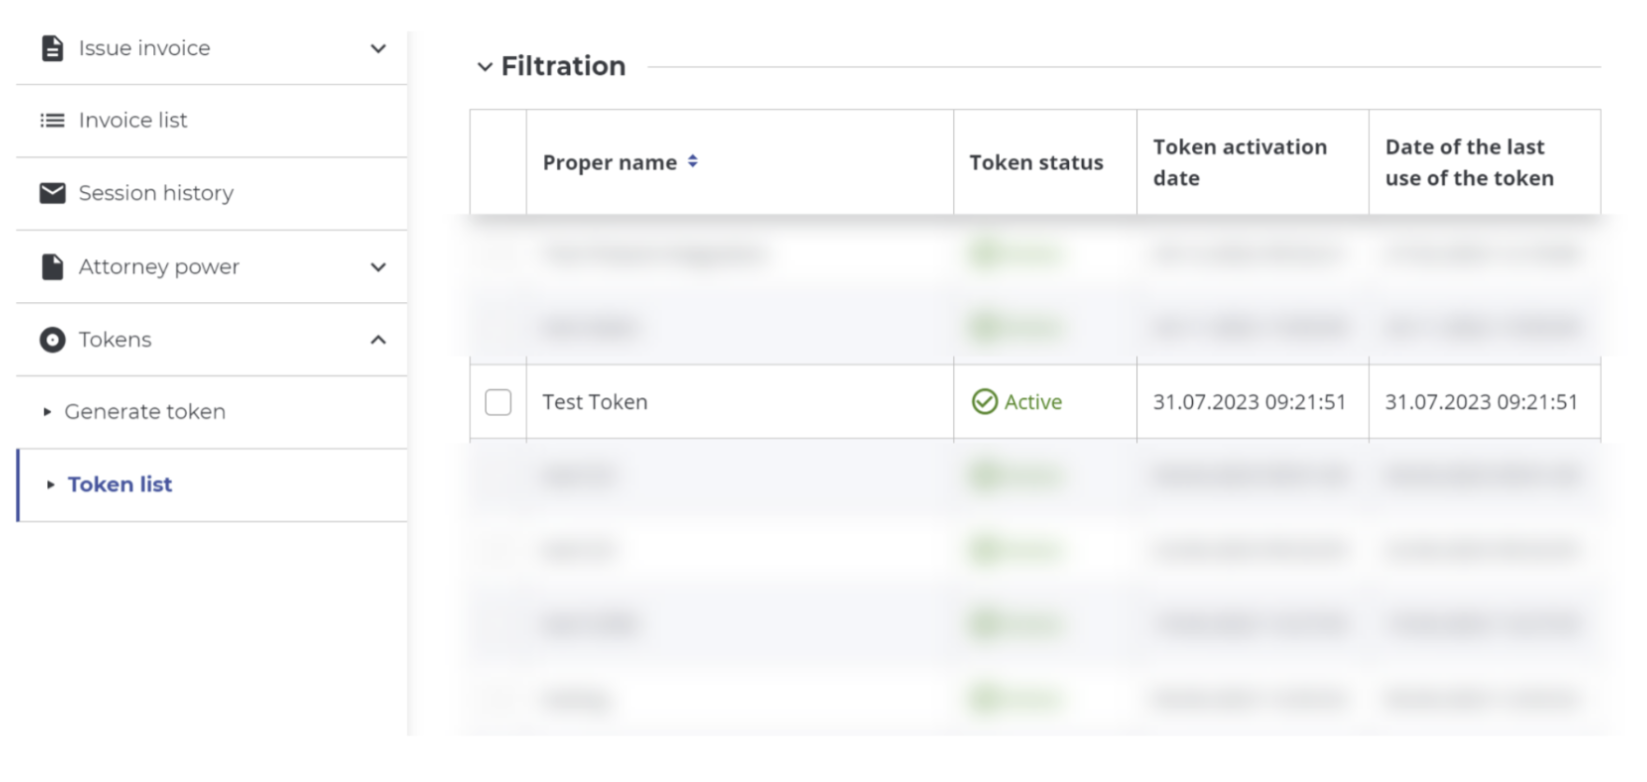
Confirm that the token has been successfully generated. Access the list of generated tokens by clicking the Token list button.
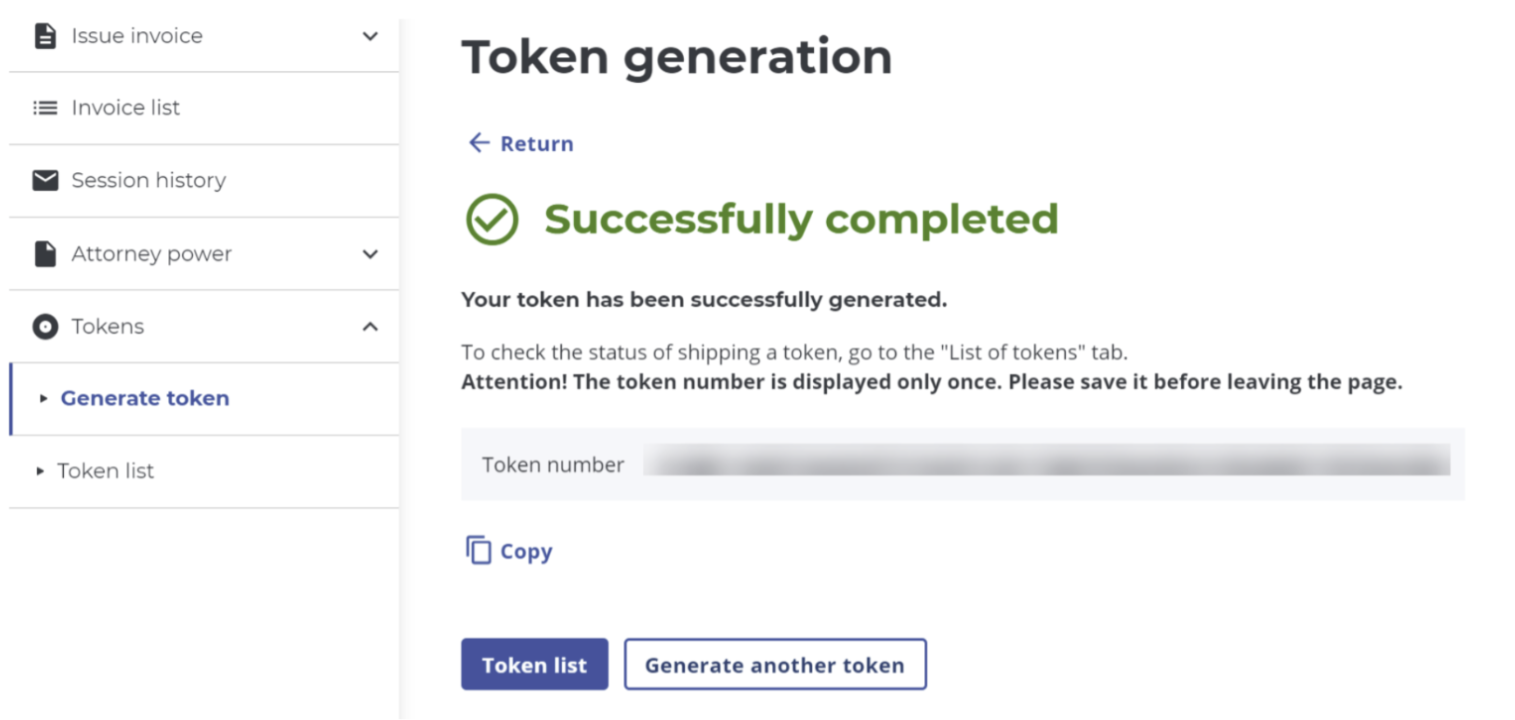
Important: Ensure to copy the Token number from this screen, as it will not be accessible once you exit this screen.
-
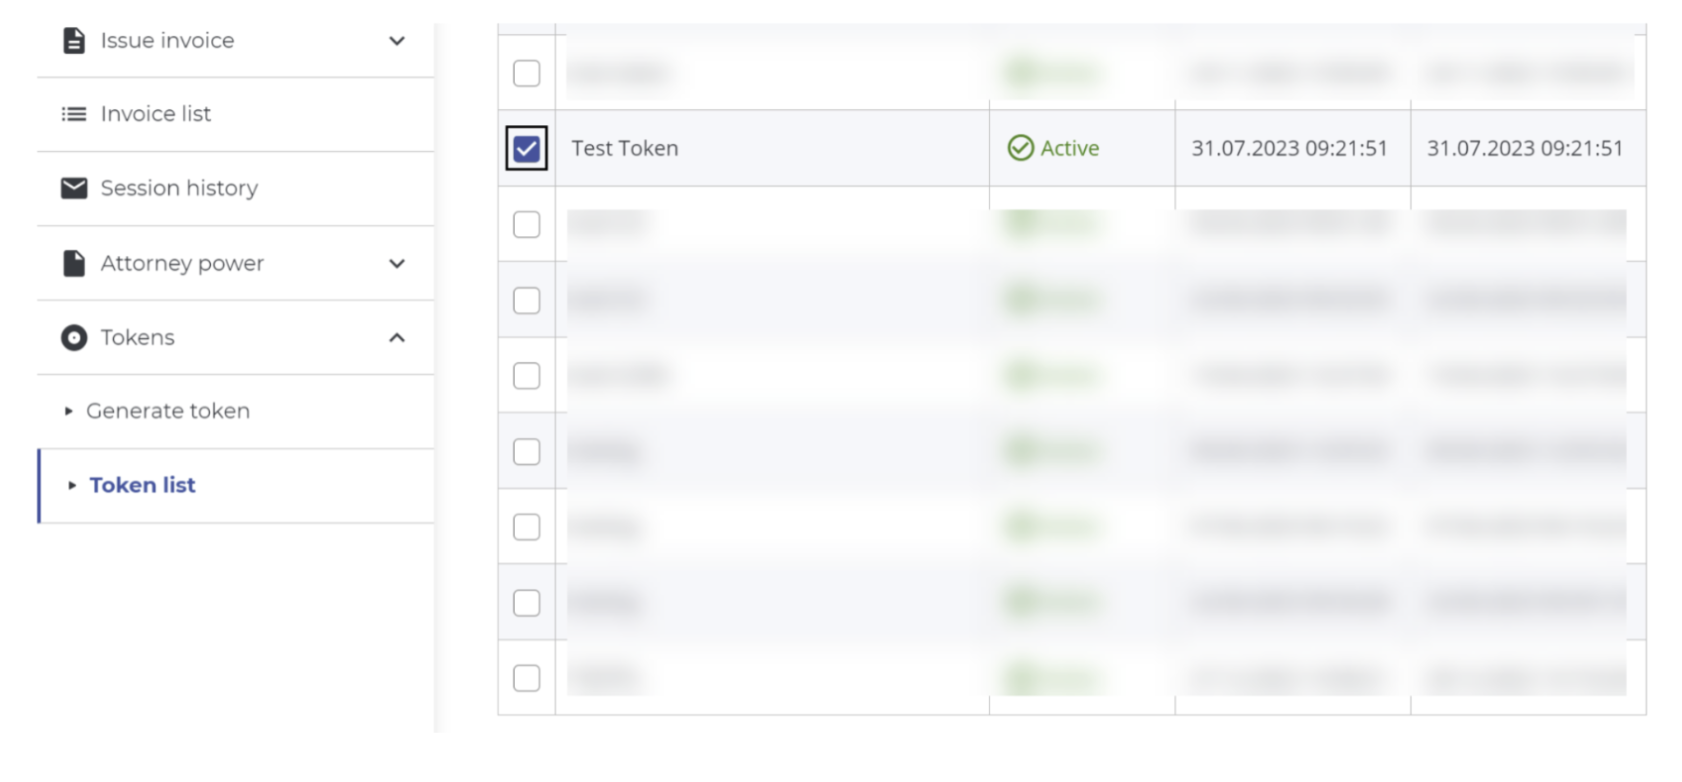
To make a token inactive, select the token from the token list and click the Revoke button.
Upon successfully generating this token, you gain the capability to utilize the A-Cube platform.